

How to Clean a Freezer
When performing regular cleaning throughout your home, you may not think about cleaning and organizing your freezer. However, after storing all types of food within your freezer, it is important to take inventory and thoroughly clean it for optimal performance. Whether this is the first time or you have cleaned your freezer in the past, our how to clean a freezer guide, along with ten effective tips, will help make cleaning your freezer a breeze.
Freezer Cleaning and Sanitizing
You can easily clean your freezer with a few steps, but it can take time. You will need to allow the freezer a few hours to defrost properly, so don’t take on this job if you don’t have the time to wait.
1. Remove the Food
First, you will want a cooler and some ice or multiple coolers, depending on how much food is in your freezer. You need to go through your food while placing it in the cooler. If you cannot identify the food, toss it in the trash. Hopefully, all of your food items are labeled correctly with dates, but if not, don’t risk it; just toss them out. If any food items look off, smell strange, or have large ice crystals, you will also want to toss those items.
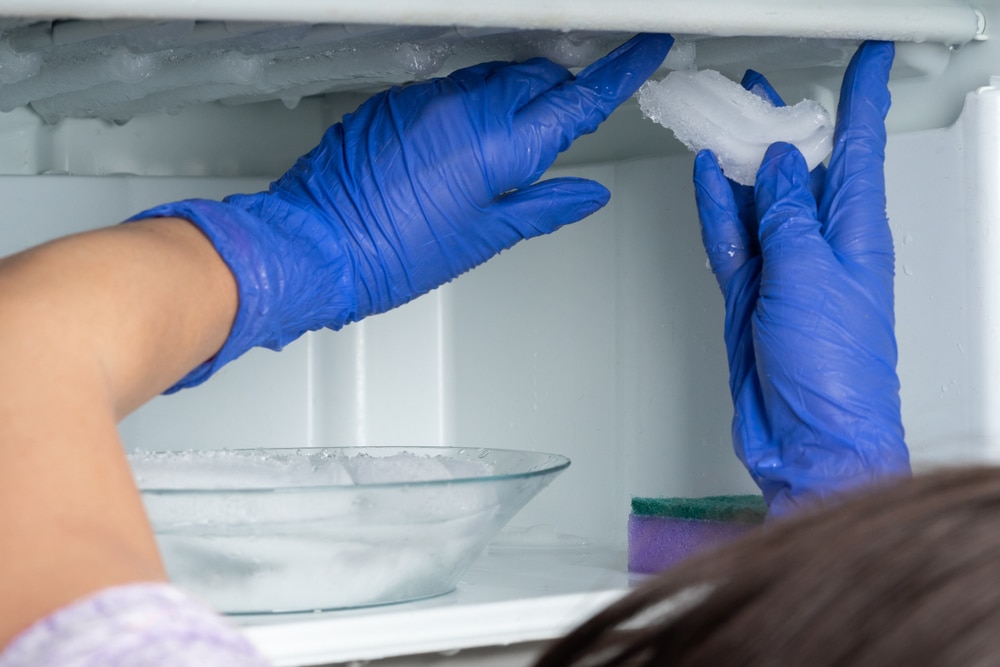
2. Defrost Your Freezer
This can take several hours depending on how much ice has built up within your freezer.
3. Freezer Cleaning
Once your freezer is at room temperature, you can remove any shelves and drawers and set them aside to clean later. You can clean your freezer with hot soapy water but must be careful with any glass within your freezer because the glass cannot handle hot water, or it may break.
If you have a drain plug or drainage tube, remove it to allow the water to drain. If you don’t, you will want to wring out your sponge to have as minimal water in your freezer as possible. After thoroughly cleaning your freezer with soapy water, take a clean and dry towel to wipe out any extra water.
4. Cleaning Your Freezer Shelves and Drawers
Remove any shelves, drawers, baskets, etc., from your freezer. Once removed, you can clean them in a sink or outside with hot soapy water unless they are glass. You will want to wash the glass with warm soapy water if you have the glass. Hot water can risk cracking your glass.
5.Sanitizing Your Freezer
After cleaning and towel drying your freezer, you can sanitize your freezer by mixing a solution of 1 tablespoon of liquid bleach with 1 gallon of warm water. Please make sure you use gloves for this and are in a well-ventilated area, so the bleach doesn’t irritate your skin or lungs. You will want to use a sponge or cleaning cloth and ring it out, so you aren’t leaving bleach puddles behind. Once you are done, ensure you wipe up with a paper towel or white towel any leftover bleach solution.
6. Turn Your Freezer Back On
Now that you have cleaned and sanitized your freezer, you will want to re-plug your drain and turn your freezer back on. Please note: do not put any food items back into your freezer until they have reached 0 degrees Fahrenheit or are close to temperature.
7. Refilling Your Freezer
Once your freezer is at temperature and you are ready to move your items back, ensure you do it in an organized manner. You should once again check your food items to be sure nothing thawed out during the time in the cooler. If they do thaw out or start to thaw, you will need to move them to the refrigerator and cook them soon.
You should not refreeze items that have thawed out for food safety reasons. While placing items back in your freezer, you should take inventory of the items so you know what is in your freezer and what items you may need to purchase soon.
8. Remove any Unnecessary Packaging & Portion Items
Make sure when you are placing your items back in your freezer that you are doing so in a thoughtful manner. You will want to remove any extra packaging that isn’t needed. Often, if you purchase items in bulk, there may be bags within a box. The box isn’t necessary as long as you mark the bags and expiration or purchase date.
Additionally, you will want to portion items as you can use them. You may not want to update the items you currently have, but moving forward, and you will want to freeze meats and other items in the quantities you can use. This is especially convenient when you freeze leftovers to use at a later date. You only need to heat a single serving at a time.
9. Flat Freezing
When you are freezing meat, it is best stored as flat as possible, especially ground meat. You can portion the meat with a freezer Ziploc bag, food saver, storage, or another bag you prefer. You can roll out your meat to make it as flat as possible before freezing. This will allow your freezer to stay organized, hold more, and when thawing the meat out, it will thaw faster.
10. Using a Container or the Door
Another way to keep your freezer organized is to place similar items together. You can do this with your shelves, a basket, or a freezer-safe container. This way, you can keep meats separated and organized, fruits and vegetables together, and not lose any small items that can easily get lost. Additionally, you will want to use your door for items that can be kept at a slightly warmer temperature, as the items in the door lose the cold each time the door opens. You won’t want to store ice cream in the door as it could cause melting or meats, but nuts or other quick items would be fine.
Hopefully, you now feel prepared for a freezer cleaning. If you do a thorough cleaning at least every 6 months, then it won’t feel like such a daunting task. If you don’t allow ice to build up, cleaning your freezer will take even less time.
Bonus: Food Storage Guideline
To ensure you are keeping items that are still good, you need to know the date you place them into the freezer and then check below to ensure they are still within the recommended guideline. Any food item that is beyond the guideline needs to be thrown away. This is why having an inventory of your items can make meal planning easier so you can use them before they expire.
Freezer storage guidelines:
· Lunch meats and sausage: 1-2 months
· Cooked meat leftovers: 2-3 months
· Fatty fish like tuna and salmon: 2-3 months
· Ground beef and pork: 3-4 months
· Pork chops: 4-6 months
· Pork roasts: 4-6 months
· Lean fish like cod, haddock, and flounder: up to 6 months
· Beef steaks and beef roasts: 6-12 months